
Short direct answer
Training an African Grey Parrot to sit on your hand is mainly about building trust, not forcing behavior. Start by letting the bird get comfortable with your presence, then slowly introduce your hand as a safe perch. Use gentle movements, calm voice, and small food rewards like millet or favorite treats. Gradually encourage “step-up” behavior by placing your hand near the bird’s chest and rewarding any small interaction. Consistency, patience, and avoiding sudden movements are the key factors. Most African Greys learn this within days to a few weeks depending on their temperament and past handling experience.
Introduction
If you’ve ever tried to approach an African Grey Parrot and watched it step back, freeze, or retreat to the far corner of its cage, you already know this isn’t just about training it’s about trust.
African Grey Parrots are intelligent, sensitive, and emotionally aware birds. They don’t respond well to pressure or rushed handling. When a parrot refuses to sit on your hand, it’s not being “stubborn.” It’s communicating uncertainty, fear, or lack of familiarity.
Learning how to train African Grey Parrot to sit on hand is one of the most important bonding milestones between you and your bird. It opens the door to:
- Easier daily handling
- Stress-free cage cleaning
- Vet visits with less struggle
- Better bonding and emotional connection
- Safer interaction outside the cage
In this guide, you’ll learn a calm, step-by-step method that respects your parrot’s psychology instead of fighting against it. No force, no shortcuts just trust-building that actually works.
Understanding African Grey Parrot Behavior First
Before training begins, it’s important to understand what’s happening inside your parrot’s mind.
African Greys are often described as “small children with wings.” They are intelligent enough to learn words, routines, and even emotional patterns but also cautious enough to remember negative experiences for a long time.
Why your parrot may avoid your hand:
- Fear of new objects (your hand is “new territory”)
- Lack of early socialization
- Past negative handling experience
- Territorial behavior inside cage
- Sudden movements or loud environment
- Stress or environmental change
Most importantly, they need predictability. If your hand suddenly appears inside the cage, the parrot may see it as a threat rather than an invitation.
Building Trust Before Training Begins
You cannot rush an African Grey into stepping onto your hand. Trust is the foundation.
Step 1: Become a “non-threat” presence
Spend time near the cage without trying to touch the bird.
Do this daily:
- Sit quietly near the cage for 10–15 minutes
- Speak softly without direct pressure
- Avoid staring directly at the bird
- Let it observe your normal behavior
This helps your parrot understand: “This human is safe and predictable.”
Step 2: Associate your presence with positive experiences
Start offering positive reinforcement:
- Treats through cage bars
- Calm voice when feeding
- Consistent feeding schedule
- No sudden grabbing or chasing
Over time, your African Grey begins to connect you with comfort instead of stress.
The Right Environment for Training
Training will fail if the environment feels unsafe.
Ideal training conditions:
- Quiet room (no loud TV or sudden noise)
- Familiar cage or perch
- Soft lighting (not harsh or dim)
- No distractions like other pets
- Training session: 5–10 minutes only
African Greys lose interest quickly and may become overwhelmed if sessions are too long.
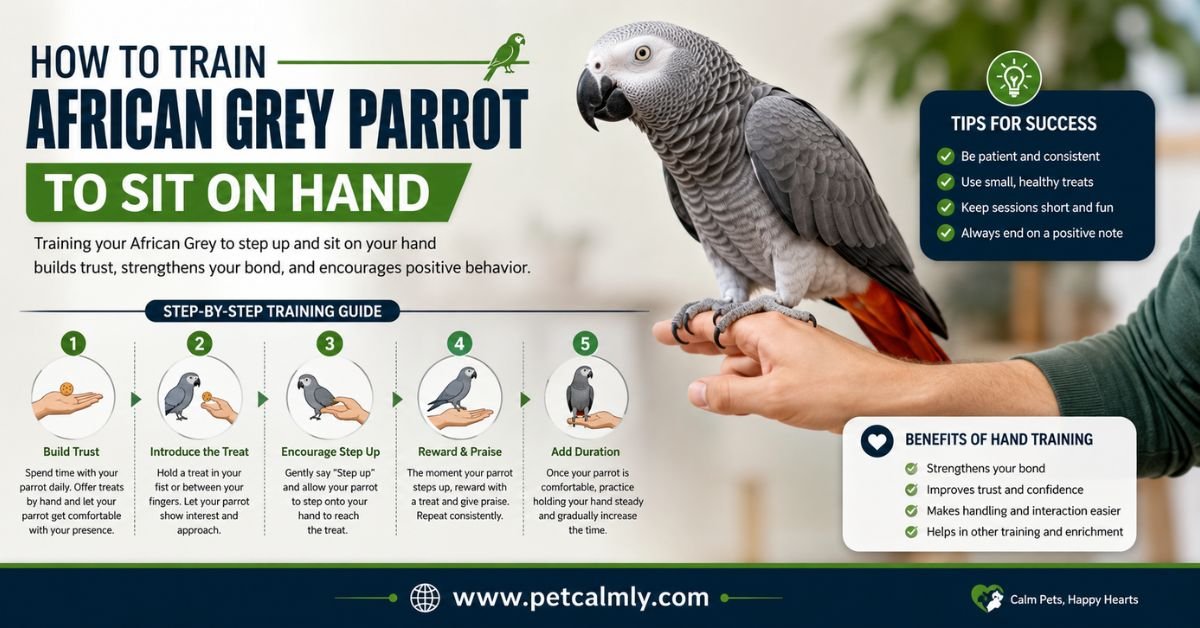
Step-by-Step: How to Train African Grey Parrot to Sit on Hand
Now we move into the core training process.
Step 1: Introduce your hand as a “neutral object”
Do not rush toward the bird. Instead:
- Place your hand outside the cage
- Keep it still for a few minutes
- Offer a treat nearby (not directly at first)
- Repeat daily until the bird shows curiosity
Goal: Your hand becomes familiar, not threatening.
Step 2: Move hand closer slowly
Once your parrot is comfortable:
- Place your hand inside the cage slowly
- Avoid direct eye contact pressure
- Keep hand slightly below perch level
- Do not attempt touching yet
Watch for signs of comfort:
- Head tilting
- Eye pinning (pupil movement)
- Relaxed feathers
If the bird fluffs up aggressively or moves away, step back a stage.
Step 3: Introduce the “step-up” cue
Now begin verbal association:
Say gently:
“Step up”
While presenting your finger or hand just in front of the chest.
Important technique:
- Place hand slightly above feet level
- Lightly press against lower chest (not forcefully)
- Wait for natural stepping response
Even if it places one foot, reward immediately.
Step 4: Reward every small success
African Greys learn through reinforcement, not punishment.
Use:
- Millet spray
- Sunflower seed (in moderation)
- Favorite fruit pieces
Reward even:
- A single foot stepping forward
- Leaning toward your hand
- Not biting or retreating
This builds confidence faster than forcing full behavior.
Step 5: Practice short step-up sessions daily
Consistency matters more than duration.
Daily routine:
- 5–10 minutes training
- Same time each day if possible
- Same calm tone and environment
- Same reward system
Within days or weeks, your parrot will begin stepping onto your hand voluntarily.
Common Mistakes That Slow Down Training
Many owners unknowingly delay progress.
Avoid these mistakes:
- Forcing the bird onto your hand
- Moving too quickly toward it
- Training when the bird is stressed
- Using punishment or loud correction
- Overhandling during early trust stages
- Ignoring body language signals
African Greys remember negative experiences strongly. One bad session can set back progress for days.
Understanding Your Parrot’s Body Language
Reading signals is critical for success.
Signs your parrot is comfortable:
- Relaxed feathers
- Curiosity toward your hand
- Soft vocal sounds
- Gentle head movements
- Stepping closer voluntarily
Signs of stress or fear:
- Raised feathers (defensive posture)
- Hissing or lunging
- Moving away repeatedly
- Wide eyes with still body
- Biting attempts
If you see stress signs, stop immediately and return to earlier steps.
Emotional Side of Training (Often Ignored)
African Greys are emotional birds. They don’t just learn actions they learn relationships.
If your bird refuses to step on your hand, it may not be about training failure. It may simply need:
- More time
- More predictability
- More positive experiences
- Less pressure from humans
Think of training less like teaching a trick and more like building a friendship.
How Long Does It Take to Train an African Grey?
There is no fixed timeline, but here’s a realistic breakdown:
| Experience Level | Estimated Time |
|---|---|
| Hand-raised, social bird | 2–7 days |
| Moderately social bird | 1–3 weeks |
| Fearful or rescued bird | 3–8 weeks or more |
Progress depends on consistency, environment, and past experience not intelligence.
Step-by-Step Daily Training Checklist
Use this simple routine:
Morning session:
- Sit near cage quietly
- Offer treat calmly
- Introduce hand briefly
Afternoon session:
- Repeat step-up cue
- Reward small progress
- Keep session short
Evening session:
- Gentle interaction only
- No pressure training
- Positive reinforcement only
Consistency builds familiarity faster than intensity.
What NOT to Do During Training
Avoid these completely:
- Never chase your parrot
- Never grab its body suddenly
- Never shout or punish
- Never force stepping
- Never train when bird is sleepy or stressed
These actions can create long-term fear of hands.
When Should You Worry?
Most resistance is normal, but watch for signs that may need attention:
- Sudden aggression that increases daily
- Continuous self-plucking or stress behaviors
- Refusal to eat during interaction periods
- Constant fear even after weeks of gentle exposure
In such cases, consult an avian veterinarian or experienced bird behavior specialist. Sometimes health issues or past trauma can influence behavior.
What Should Pet Owners Do for Best Results?
To successfully train your African Grey Parrot to sit on hand:
- Be consistent, not intense
- Keep sessions short and calm
- Build trust before training tricks
- Respect the bird’s emotional boundaries
- Reward small progress instead of waiting for perfection
- Use calm repetition instead of force
The goal is not just “step on hand” it’s a confident, stress-free bird.
Conclusion
Training an African Grey Parrot to sit on your hand is not about control it’s about communication. When your bird learns that your hand is safe, predictable, and rewarding, the behavior naturally follows.
Some parrots learn quickly, others take time. Both are normal.
What matters most is patience and consistency. If you respect your bird’s pace, the trust you build will last far longer than any single trick.
More Information About Pets, Please Visit Our Website: How to Train a Lovebird to Sit on Your Finger
Frequently Asked Questions
1. Why won’t my African Grey step on my hand?
Most often it’s due to lack of trust or fear. Your parrot may not feel safe enough yet, especially if it’s new or unhandled.
2. How long should training sessions be?
Keep sessions short around 5 to 10 minutes. Longer sessions can stress the bird and slow progress.
3. Can older African Grey parrots still learn to step up?
Yes. Even older parrots can learn with patience, though it may take more time compared to young birds.
4. What is the best treat for training African Greys?
Small pieces of millet, sunflower seeds, or fruit like apple or grape work well as positive reinforcement.
5. My parrot bites when I try to touch it. What should I do?
Stop immediately and give space. Biting is a fear response, not aggression. Go back to earlier trust-building steps.
6. Should I train outside or inside the cage?
Start inside or near the cage where your bird feels secure. Once comfortable, you can gradually move to outside-perch training.